GJTS - Adding Steamworks API and Uploading
So here we go! A new project and a new series! If you have no idea what I’m talking about you might want to check out the series intro video video.
Today’s goal is to get “Where’s my Lunch” working and downloadable on the steam client. And in the process, hopefully give you an idea of what that takes to do it with your game. While getting the entire store setup will take days or even weeks… getting your game on the Steam servers and ready to share with friends or supporters is actually pretty easy.
While it’s not necessary to do it this early in the development process, I want to do it as an exciting first step AND integrating steam at this point seems like a good idea as adding significant functionality early in the development process generally keeps things working smoothly down the road.
Steamworks
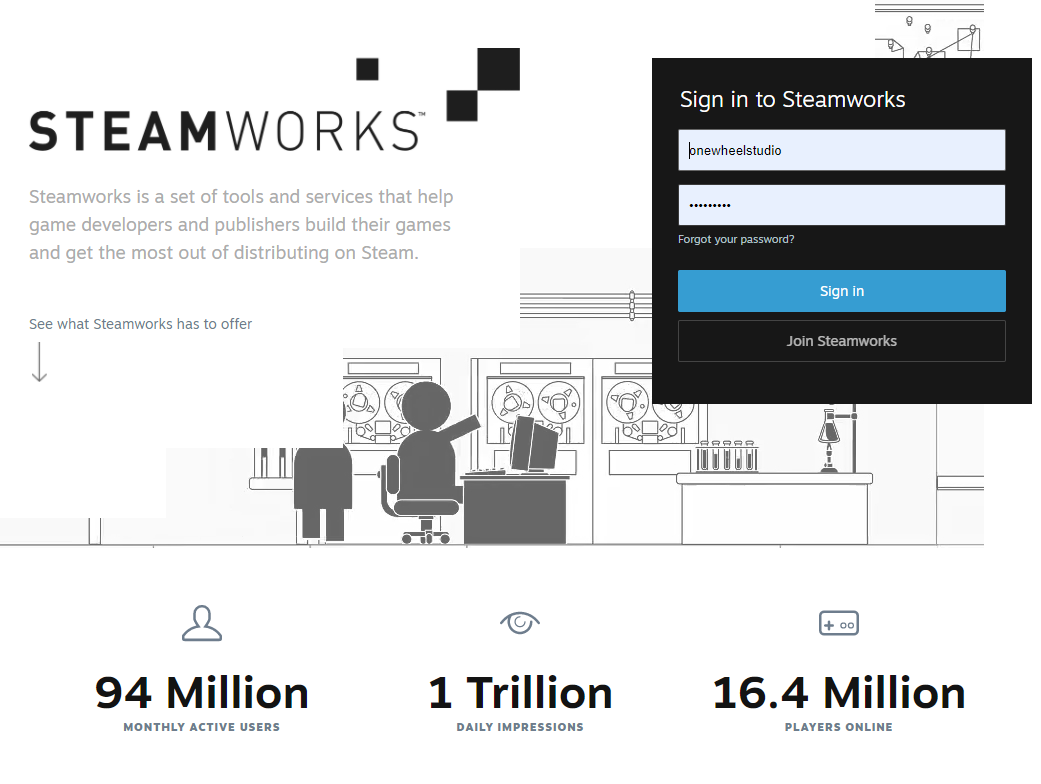
So if you are trying to follow along, the first thing you need to do is set up a Steamworks account. Now I already have one, but if I remember it’s not too complicated to do it - but you WILL need to provide quite a bit of information and it’s definitely more involved than creating a regular steam account, but very doable and Valve should walk you through the process.
I WOULD strongly recommend that you create a new Steam account too. DON’T use your personal account for publishing games. A layer of separation, even a small one will be appreciated when comments and questions about your game start flooding your notifications. Not to mention that keeping your branding clean and semi-professonal is much easier with a dedicated publisher account.
Personally, I log in with my OWS account in a browser and into the Steam Client with my personal account… This prevents tedious logging in and out while still keeping some separation. I’ve also got the two accounts setup to use family sharing which helps keep things simple in terms of accessing games.
As another side note, many people think they need to start a corporation to publish games… Now I’m not a lawyer, I hope that’s obvious, but please go talk to a lawyer first if you think you need to form a corporation. Taxes and such, at least here in the states, get way more complicated if you form a corporation and unless you start making real money it’s not worth it.
OWS is registered as a sole proprietorship which has worked perfectly fine over the last few years. And unless I sell 10’s of thousands of copies of this game, it’s going to stay that way for a while longer.
Once you have a steam account you can add an app to Steamworks. And THIS is the part you have to pay for… My first game went through Steam Greenlight, but these days you just have to pony up $100 and you can put your game on Steam.
Once your application is added you’ll see an appID which we’ll be making use of quite a bit so it can be worth writing down or at least leaving the window open. With a Steamworks account you can now get access to the “Steamworks Development” group on steam.
It’s fantastic.
Just about every question you’ll have about publishing a game will be on the forum AND if you can’t find the answer you can always ask a new question. Valve has employees that monitor the group and will chime in from time to time when needed. If you’ve never published a game before… you should spend a lot of time reading in this forum.
It will be worth it.
Picking a Wrapper
The next step in the process is to pick a Steamworks wrapper… The steamworks API is all in C++ and since I’m using Unity, which uses C#, I’m going to need a wrapper or a layer of code to interact with that API. You could write your own, I suppose… but why?
Don’t do that.
For my first game I used Steamwork.NET which I think at the time was the only real option. Nowadays there’s a few more. So, I spent a few hours researching: watching videos, reading posts and articles.
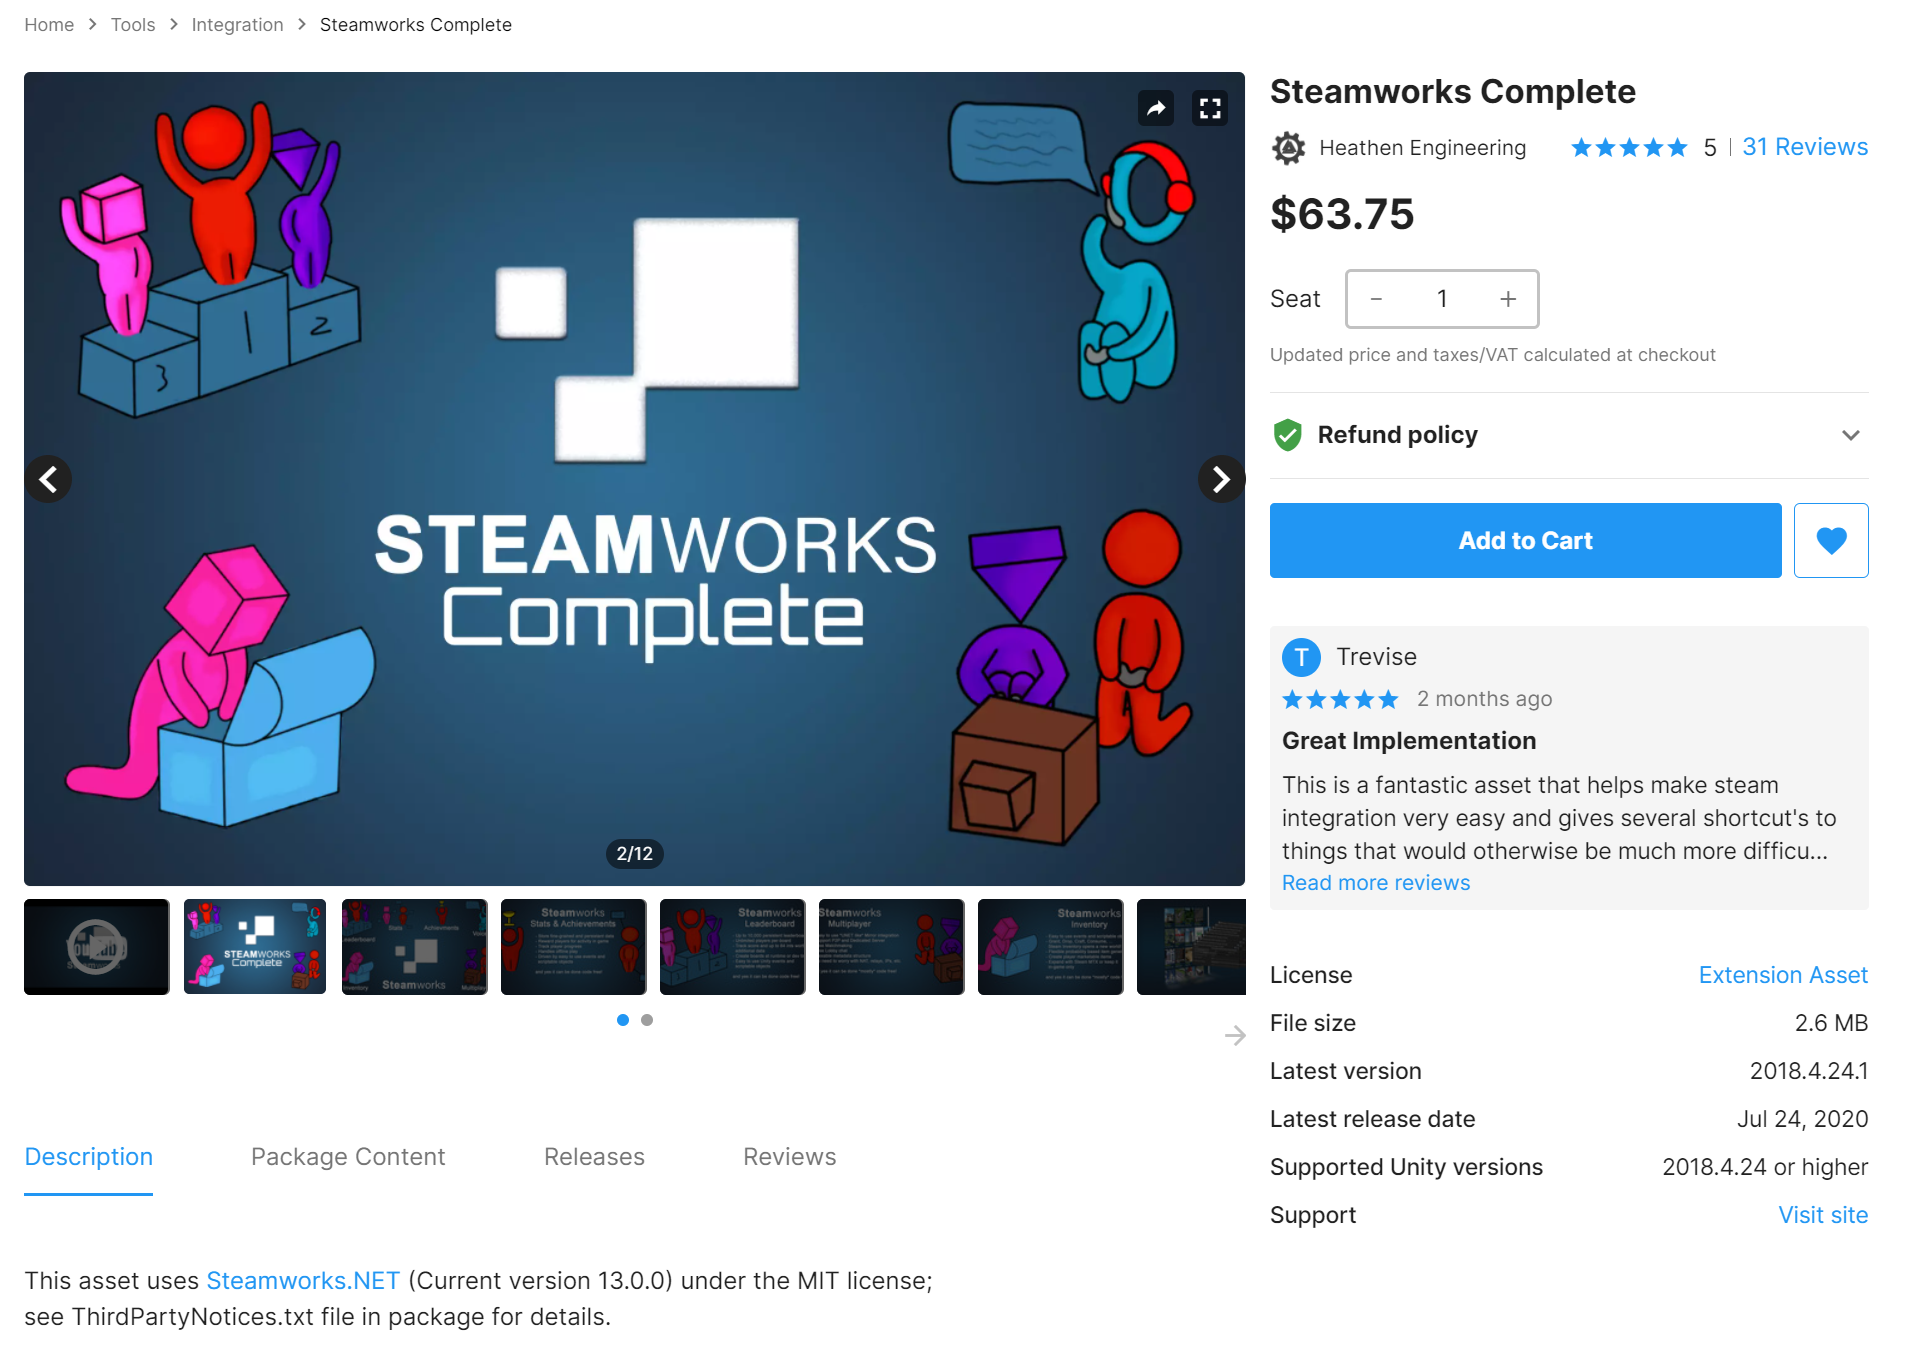
I found “Steamworks Complete” on the asset store. It uses Steamworks.NET and effectively wraps it in an easier to use package. Watching the videos it seems like the asset is well designed, but in the end, a wrapper of a wrapper to me didn’t seem like the best idea. I’ve grown cautious of using 3rd or 4th party tools…
After all, if I figured out Steamworks.NET several years ago with much less programming experience, I should be able to do it again and I don’t need someone else’s code to help…
I think.
I hope.
I was just about ready to download Steamworks.NET, but for some reason I hesitated and did one more google search - the choice of wrapper is something I’m going to have to live with until the project is finished so I wanted to make sure all my ducks are in a row!
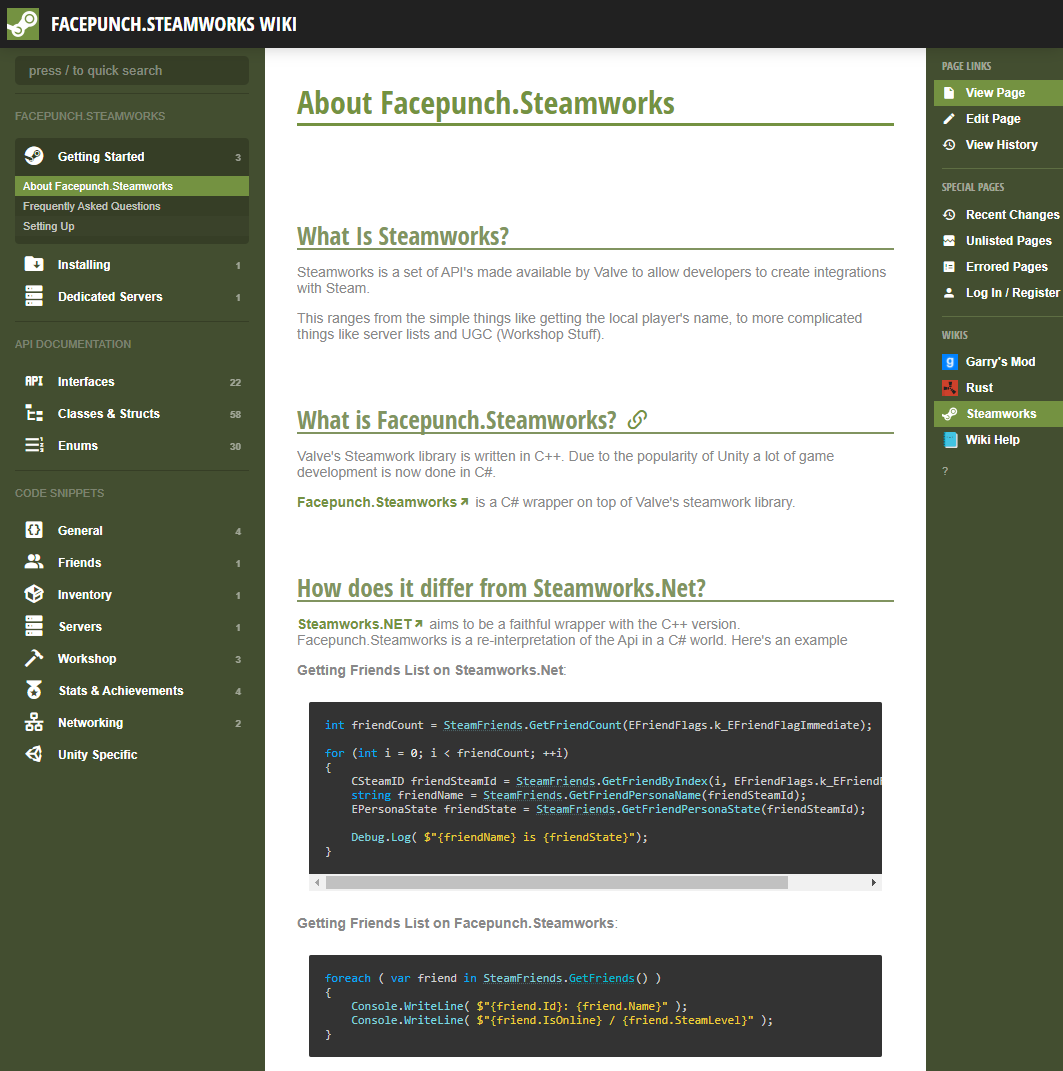
And I’m really glad I did. In an article, I found a link and reference to “Facepunch Steamworks!” And oh man, does it look better and easier to use! Steamworks.NET is all in C# but it’s not user friendly or at least not as much as it could be. Facepunch Steamworks is easy to read and easy to understand if you're comfortable with C#. Plus it’s in active development as it’s used in Rust and Gary’s Mod. Which is more than good enough for me.
Whether it’s true or not I also found a quote from the Steamworks.Net developer that “most people should use Facepunch.”
Okay. Definitely good enough for me.
The install process is dead easy, but I did find that locating the link for the instructions for doing so in Unity a bit hidden - but once I found them it’s a simple download and then just a matter of dropping the files into a folder in my project.
Honestly, I can’t imagine it being much easier.
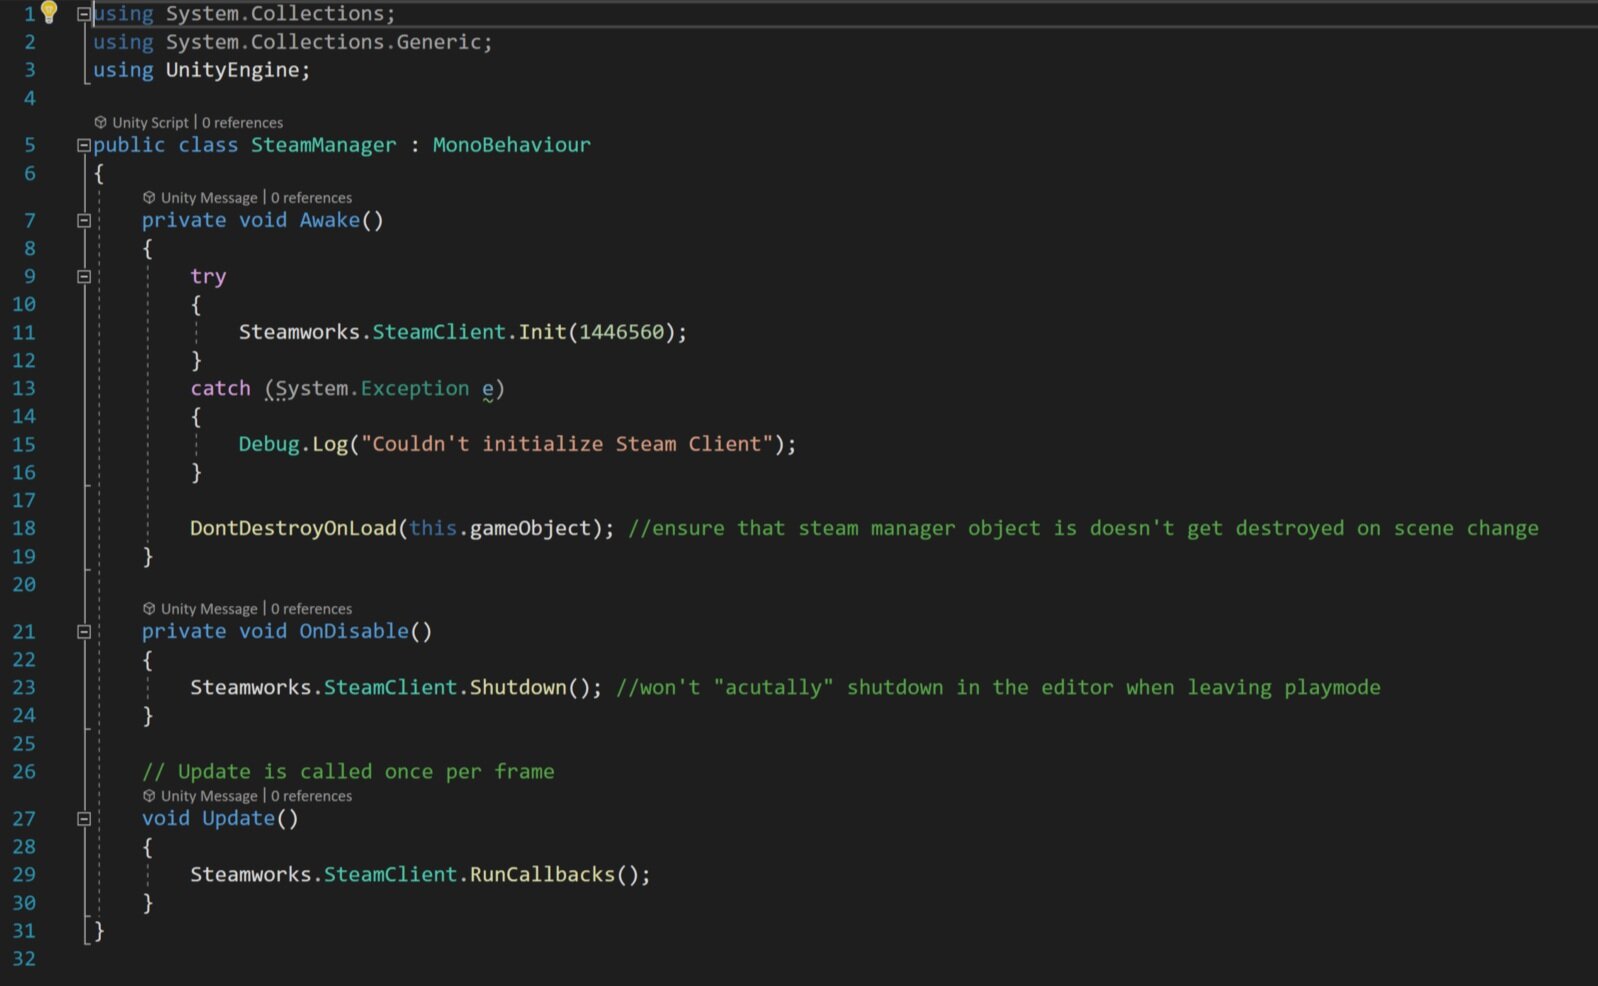
After that it’s just a matter of creating a simple “Steam Manager” and Facepunch provides an example of how to do just that. The steam manager will create a connection with Steam and make sure that the game is getting all the callbacks that it may need - most of this functionality will be needed later as I implement steam features like achievements, leader boards, and hopefully workshop functionality.
Do notice that I added the command “Don’t Destroy on Load” to ensure the steam manager will persist in all scenes. This is quick and easy, but I will likely need to revisit this down the road as returning to the start scene from another scene will create a duplicate copy of the steam manager. Not a big deal at this point, but I’d like to keep things tidy when possible.
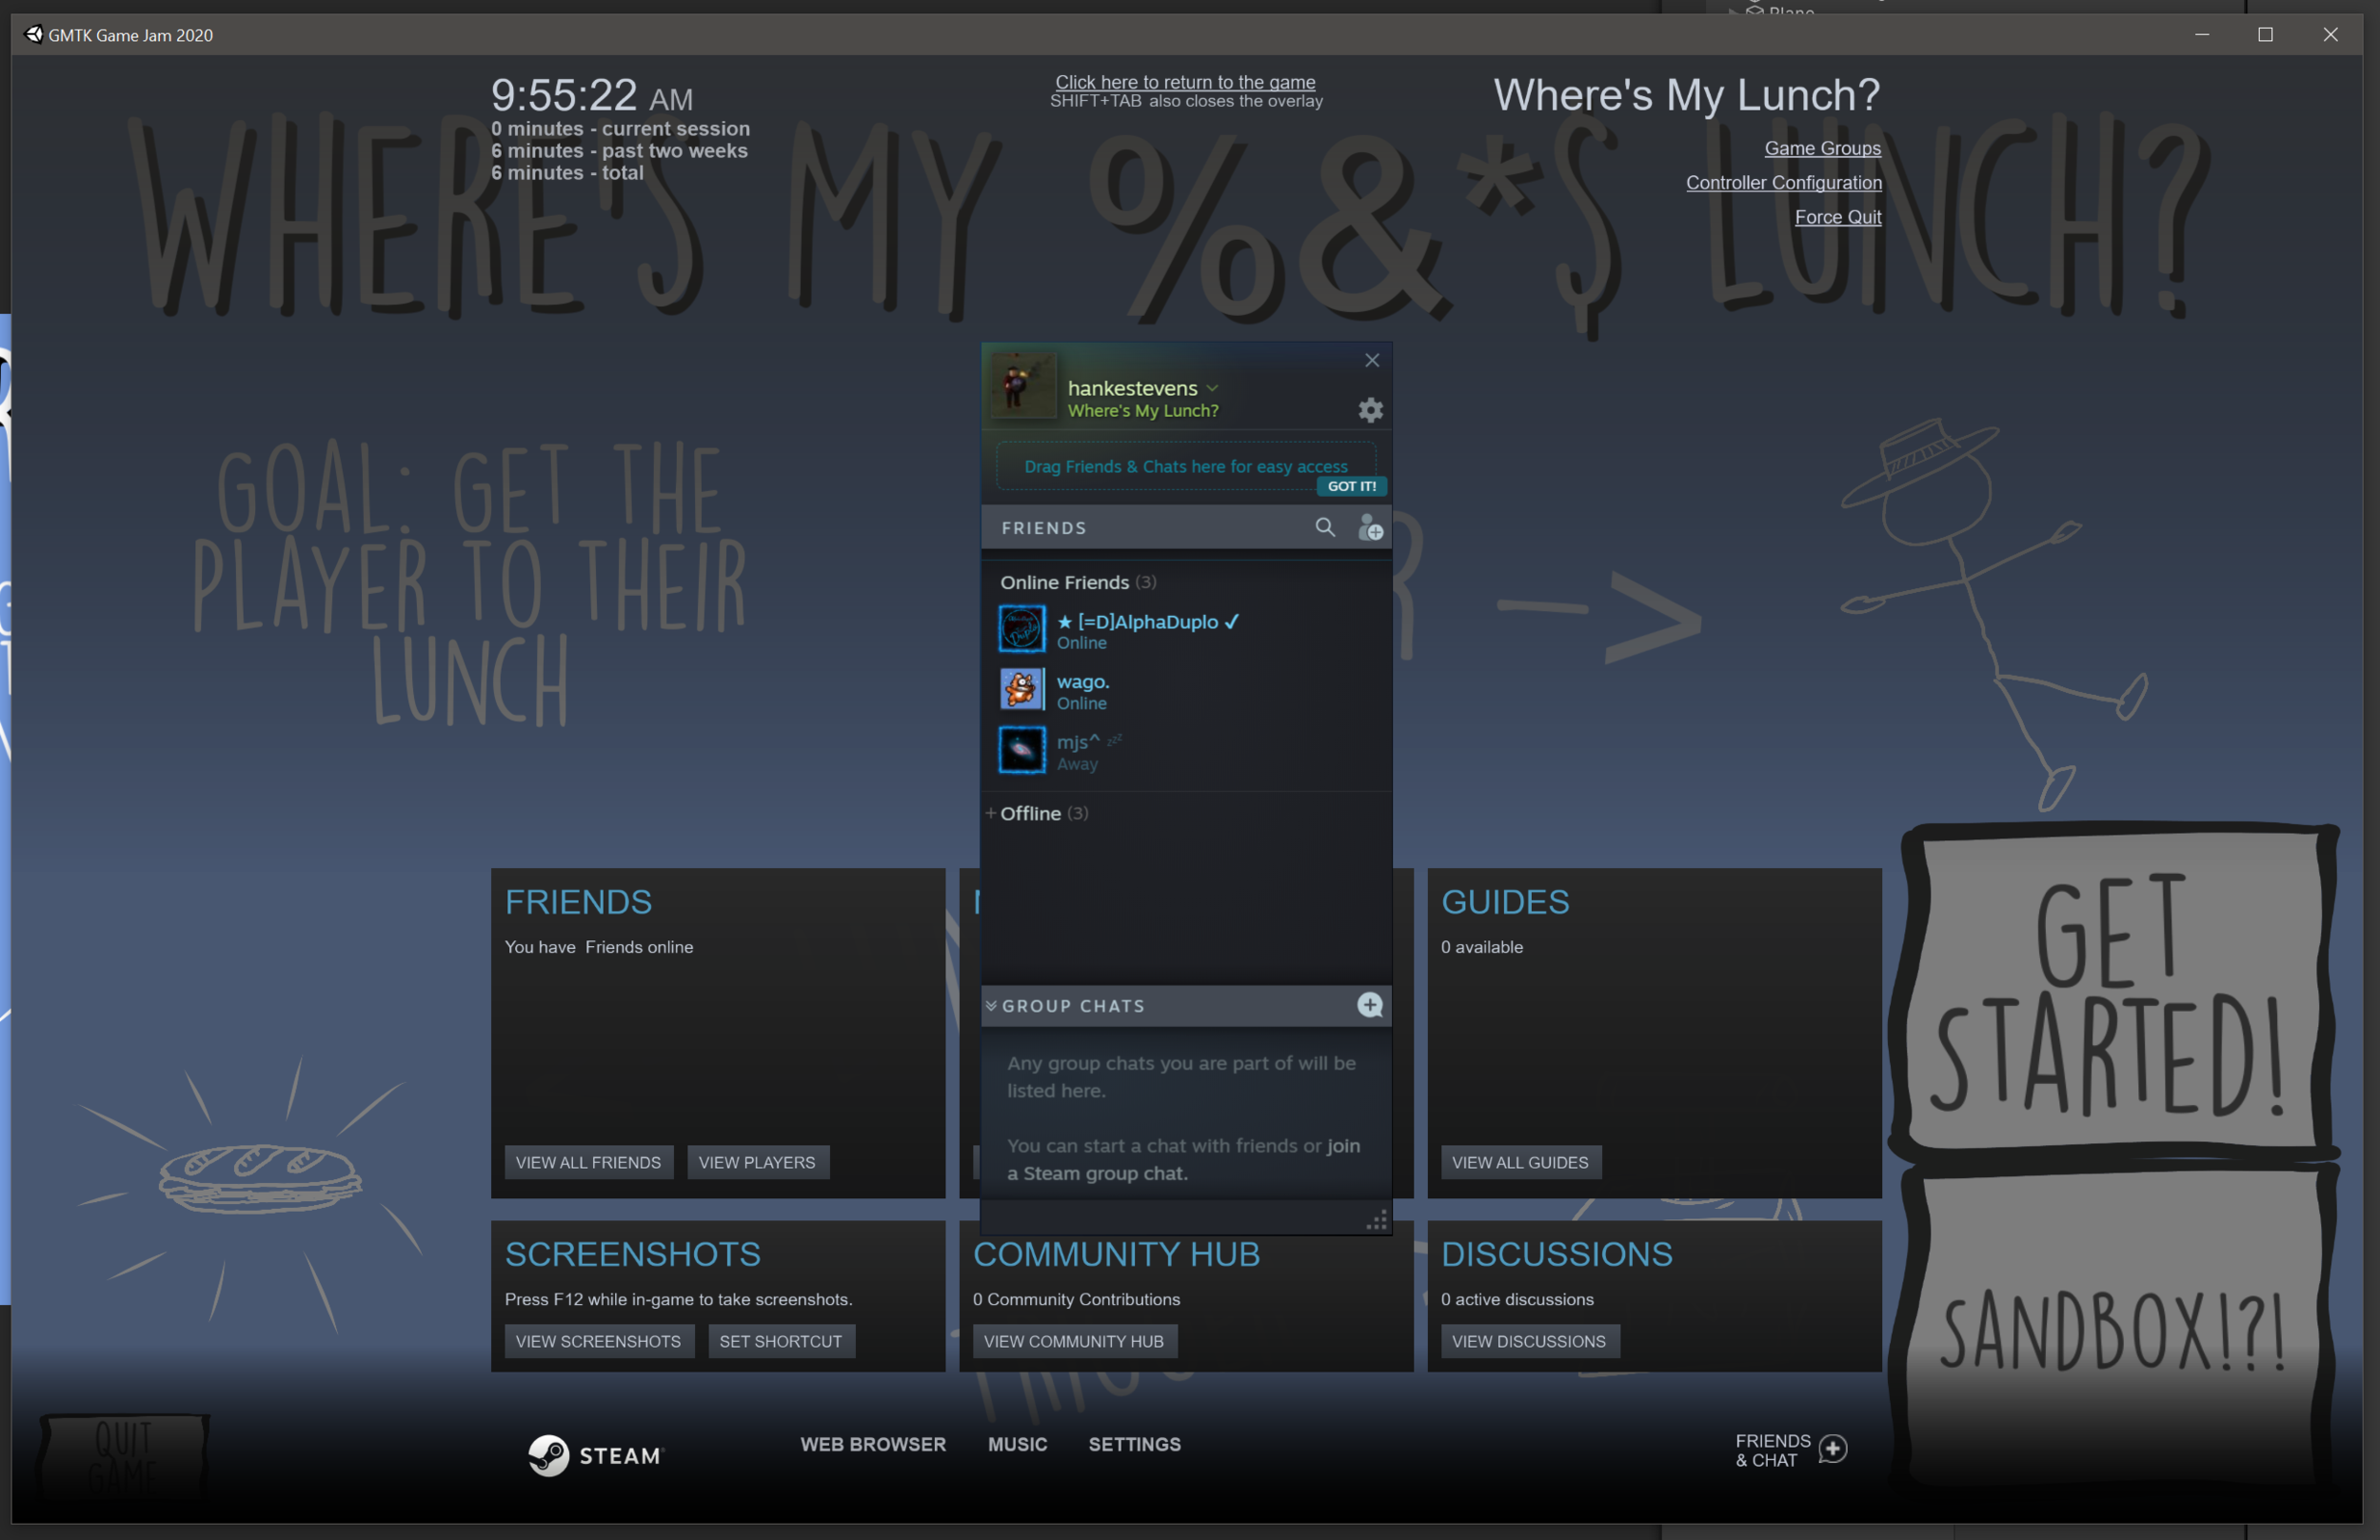
At this point, I wanted to do a little testing. So I made a build. And, sure enough, the steam overlay works AND Steam shows that I’m playing a game. Not a big step, but pretty fun all the same!
Now for the harder parts… I wanted to upload the game to steam and get it functional so I could push out a few keys and let folks play the game.
The rest of the post (and video) is going to look at how to do that and since I did get it working I decided to add a few Steam keys to the comments below... (Video only)
And if I remember I’ll keep adding keys with each video in the series. So make sure to get to the next video early!
If you happen to be a patron or a channel member supporting the channel with $5 or more per month - keep your eyes open as I’ll be looking to get keys into your hands as well.
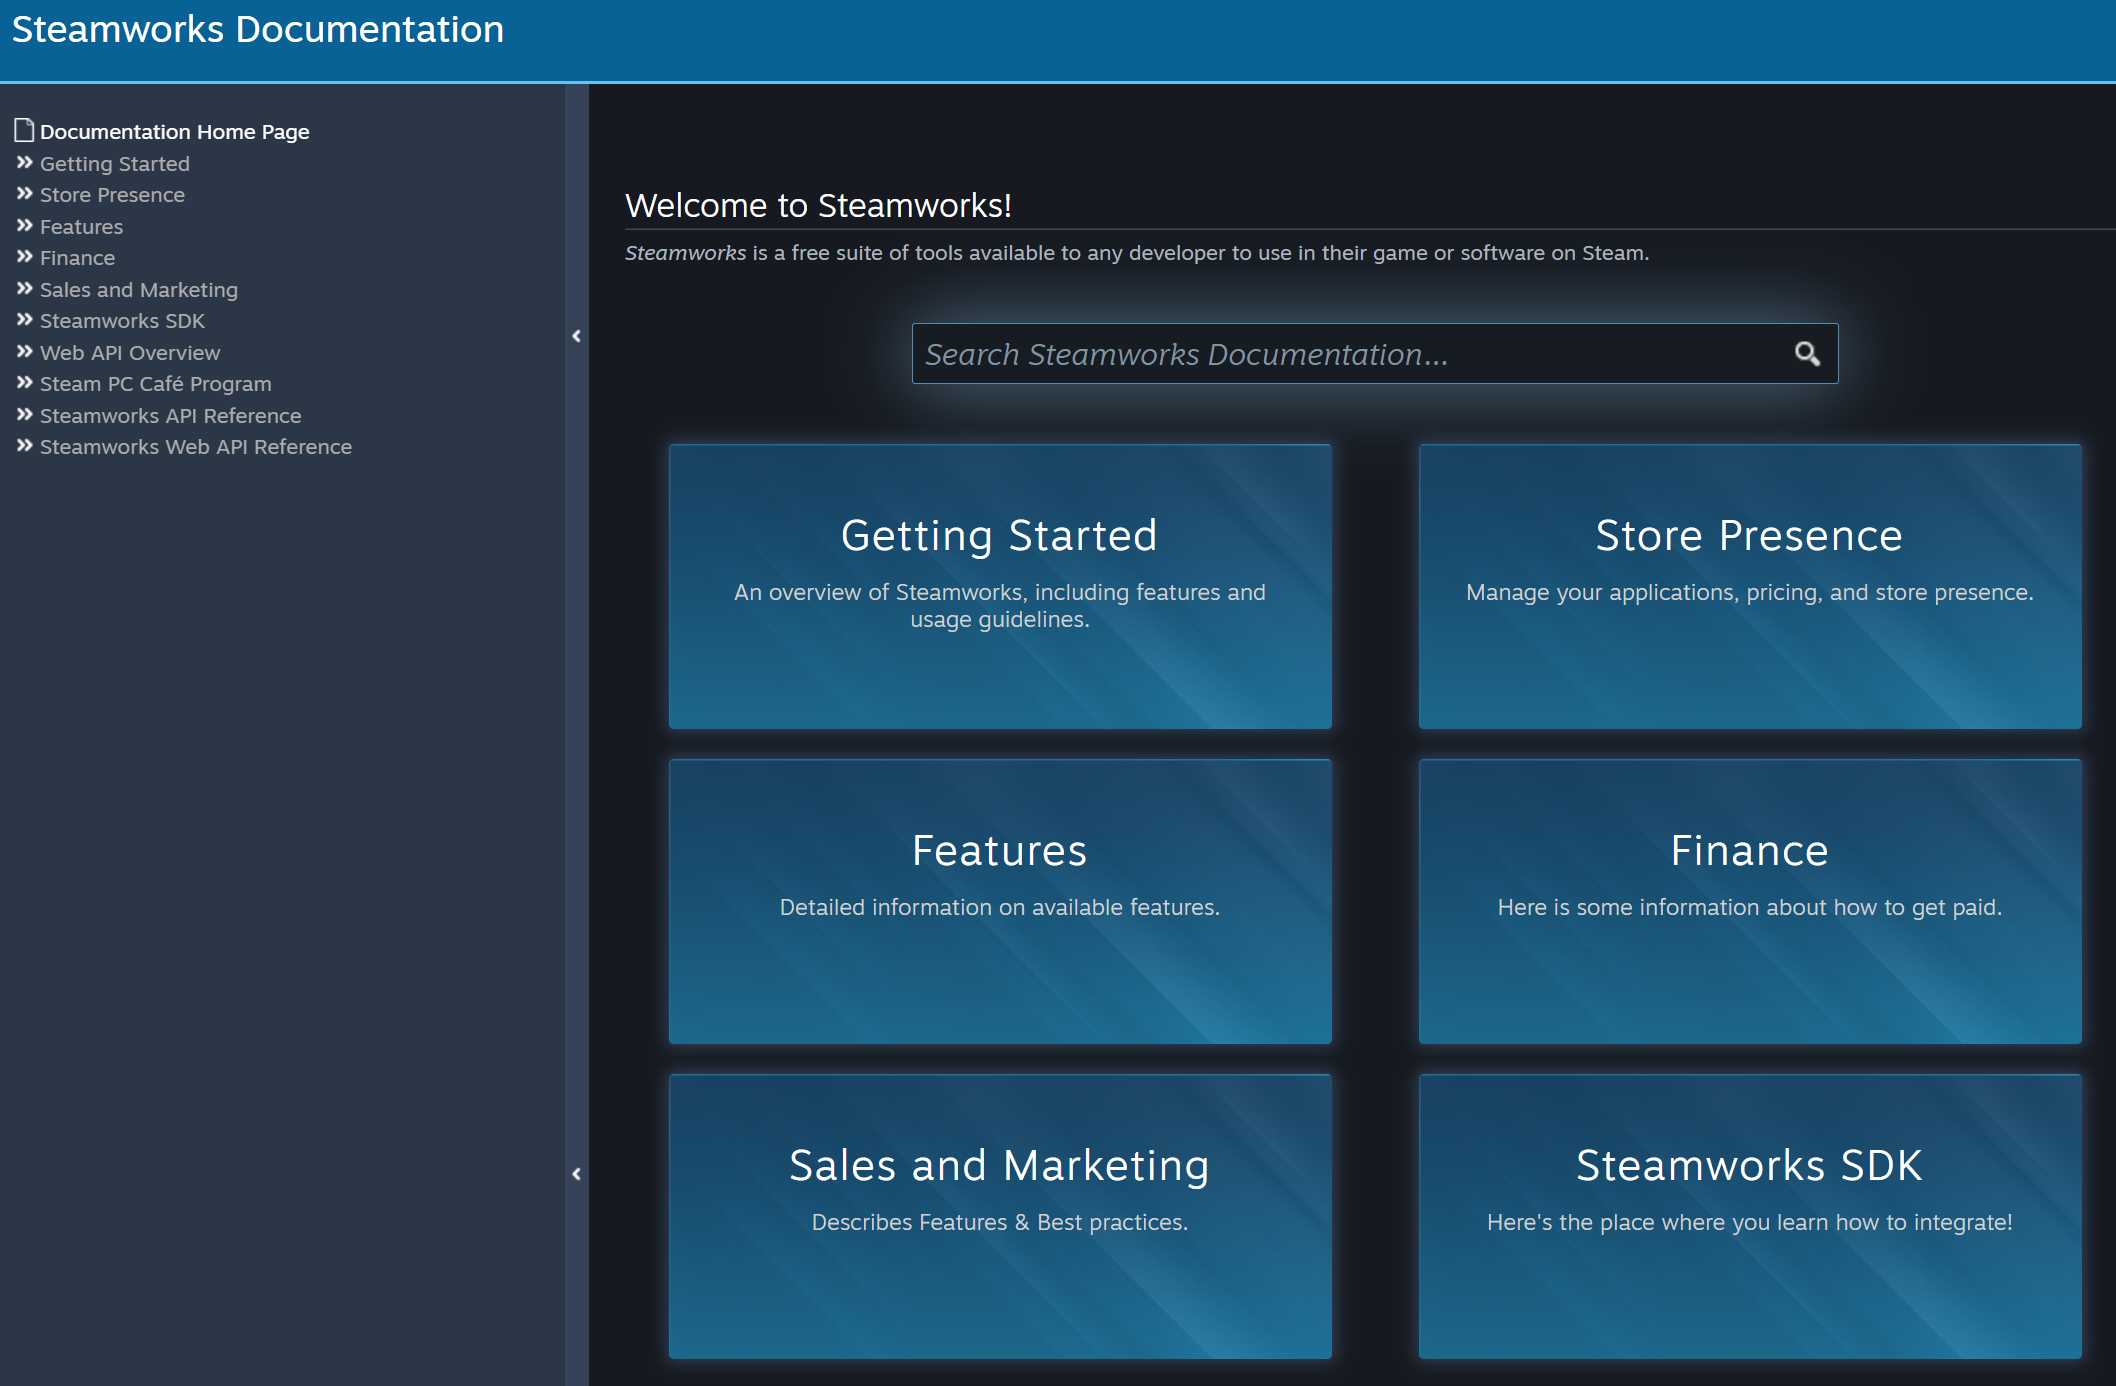
Documentation! Probably more than you want to read ;)
But back to the actual point of the video, Valve provides pretty good documentation on how to upload your game to Steam, but still, I managed to fumble around and forgetting a few key steps. Those extra steps are there for good reason and give you, the developer, a bit more fine control on what players have access to and when they get that access.
So let’s take a look at how to make it all work.
The first step is pretty straight forward, and that’s to set the allowed operating systems. In my case, I’m sticking with 64 bit Windows for the time being. After that, a depot needs to get set up with the correct OS. Do note that each depo has an ID number that’ll be needed in the next steps - this number should be related to your appID.
You also need to set up the launch options, which essentially sets the executable file that needs to be opened to play the game.
After that I needed to download the SDK and put it somewhere convenient. Value recommends putting your game files into a folder inside the SDK folders, you don’t have to do this, but it’s not hard so I’m going with it. You could choose to manually move the files with each build OR have the SDK look into different folders… but this seems easiest for now.
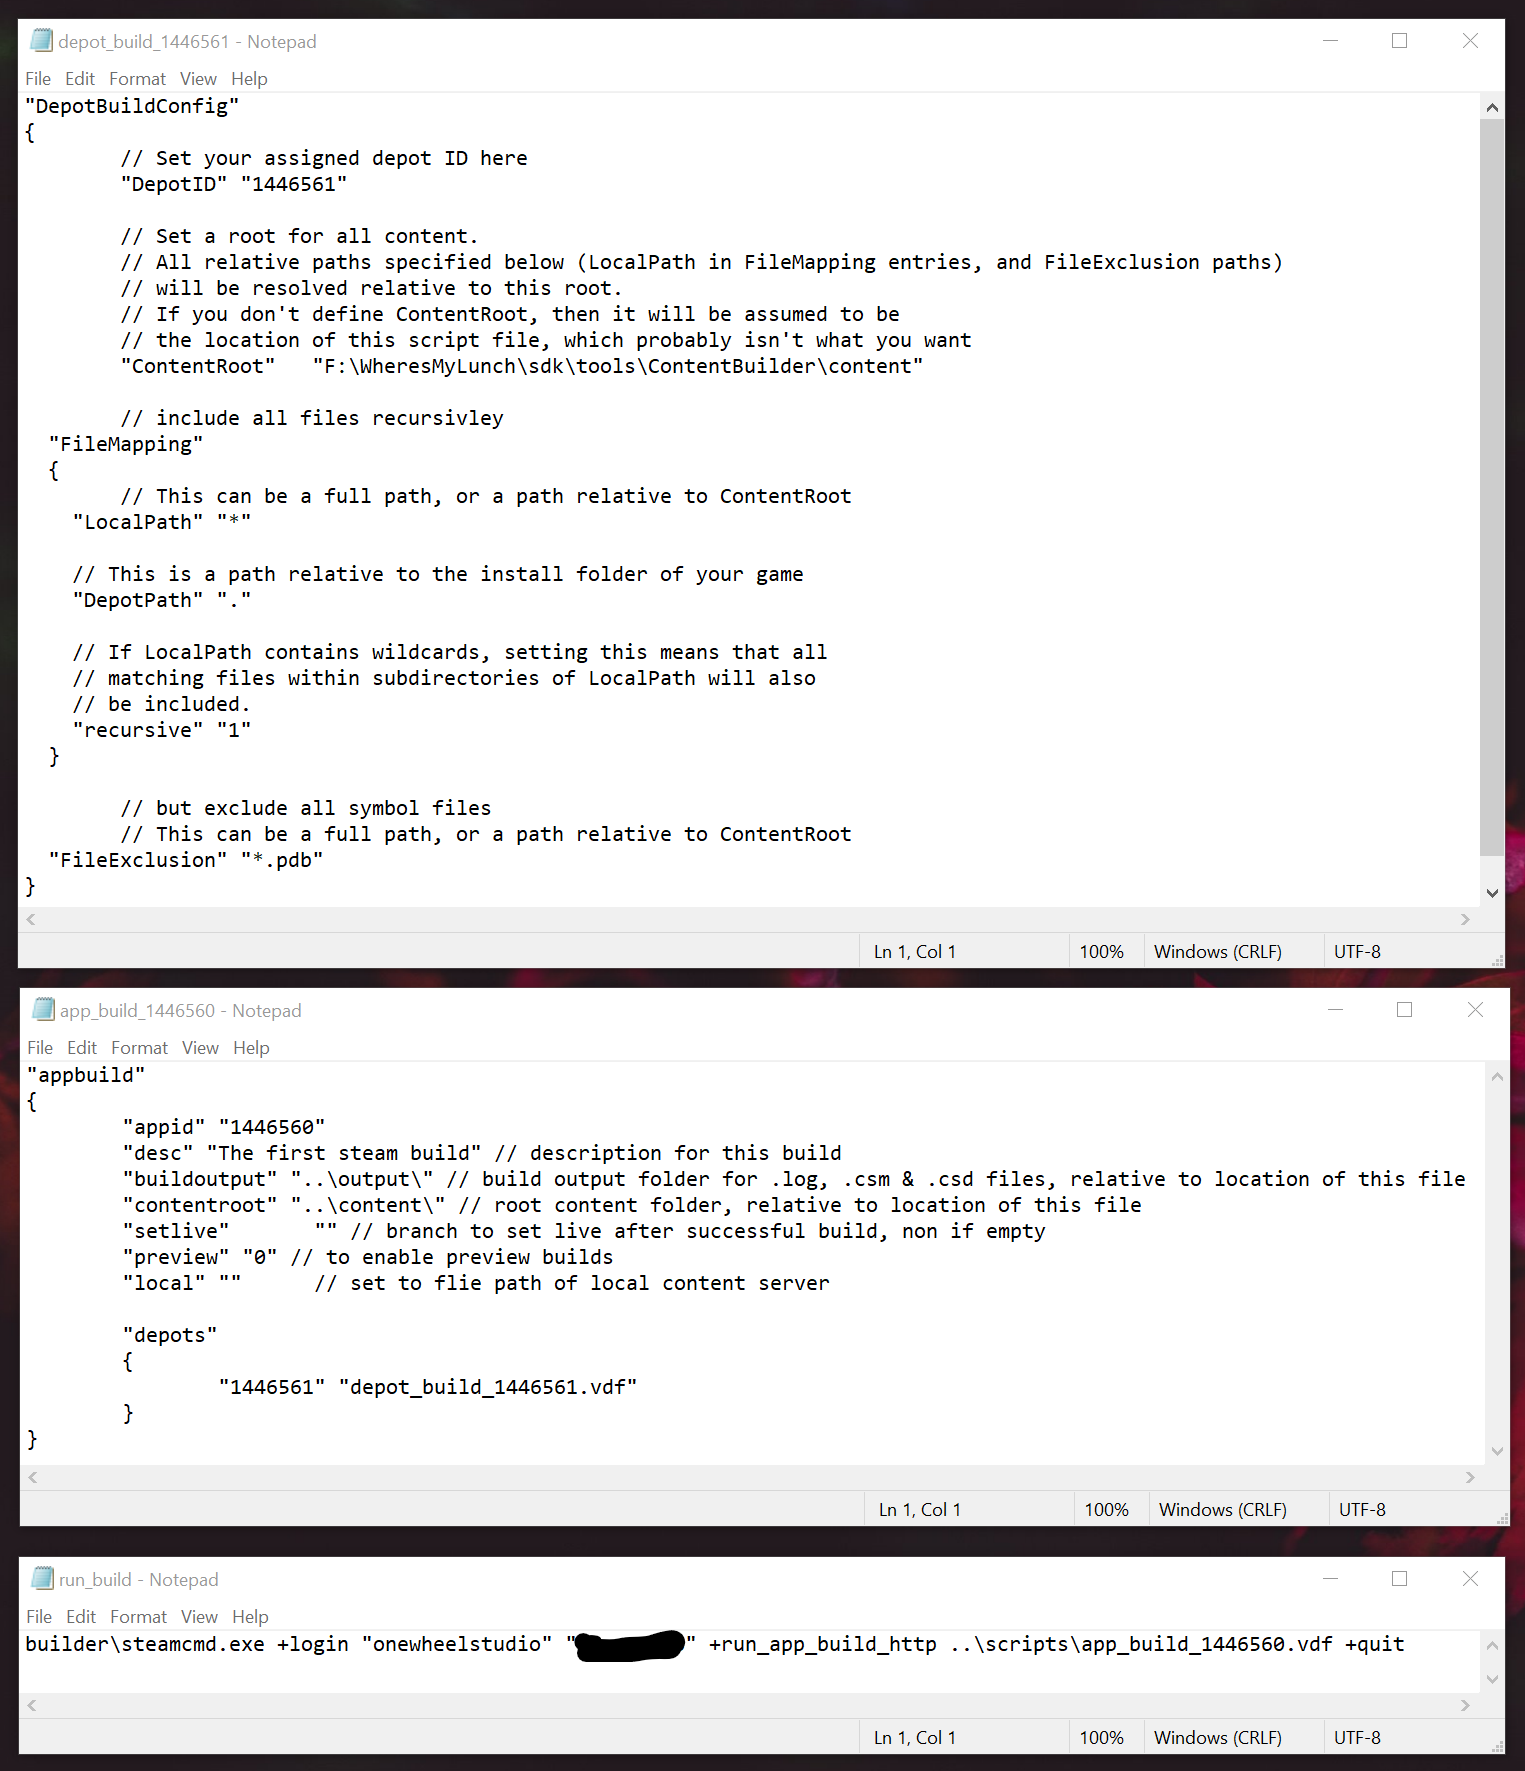
The three scripts that need to be edited
I did this by changing where Unity puts the builds and rebuilding the project.
Next, it’s just a matter of editing three text files to push the game files up to the steamworks backend. These files can be opened in just about any text editor - I use notepad for simplicity. As a tip for those on a windows machine: holding shift while right-clicking should give options to select a program to “open with” if they don’t automatically open in notepad.
The first script we need to edit is the “Depot build” file which can be found deep in the SDK folder structure under “content builder” and then in “scripts.” Here all that needs to be changed is the depot ID which we got when we created the depot.
In the same folder there is the “app build” file in which you will need to change the appID and information about the depot build file.
That last file that needs modification is the “run build” batch file. This file helps streamline the upload process. In this file, you’ll need to put in your username and password - both in plain text but surrounded by quotes.
Then all that needs to be done is to make sure all three files are saved and run the batch file.
I have two-factor authentication turned on so I got prompted for a code. If you don't have this turned on, especially in your developer account, go do it now! Even if you don’t make money this isn’t an account you want to lose control of.
Now, it might take a while to upload the first time or if big changes have been made but the game is on it’s way to the steam servers!
Sweet!
Now, when I got to this point I was feeling pretty confident and pretty happy. It should all work!
Right?
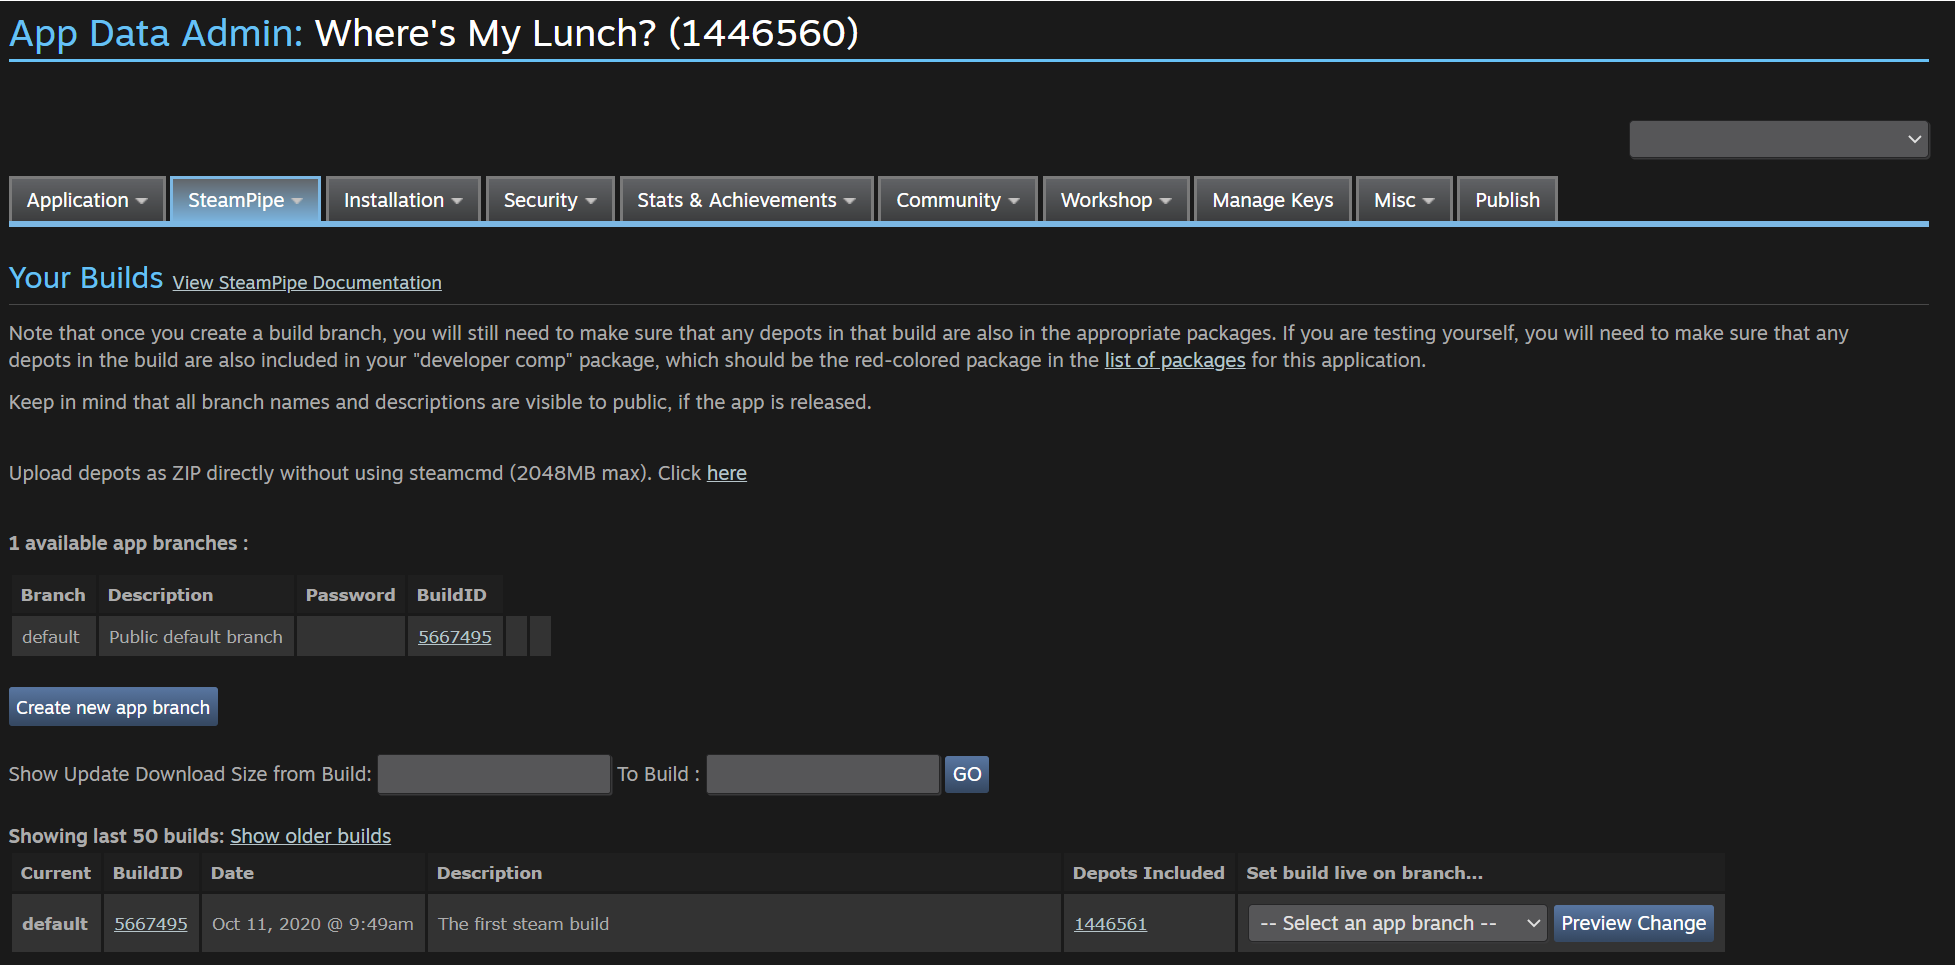
The branch build settings
Well, it didn’t.
The game showed up in steam, I could even “install” it and press the play button… But I got an error. I checked the local folders and there wasn’t anything there.
Hmm. What did I mess up?
Well, it turns out there are a few extra steps that I missed. The build branch needs to be set and the changes saved…. That’s easy.
So, confident that I’d fixed it, I did one more test and I still had the same problem. It took a search or two on the development forum to find the problem.
The magic button… “Publish!”
The missing step is to actually publish the build. Go figure.
When you do this SteamWorks makes you type a “password” into a field so that you don’t do it by accident. Which is good. This is Valve protecting me from myself. And I very much need that.
Remember that this is potentially going public AND steam will likely auto-update players versions so you want to be REALLY sure that you aren’t doing this by accident and pushing a test build when you aren’t ready.
So! with that last step… It finally works! “Where’s My Lunch” is playable through the steam client.
Even though I’ve done it before, this feels pretty great. I’m just going to enjoy this feeling for a little while…
Load/Save Manager with some Odin Goodness
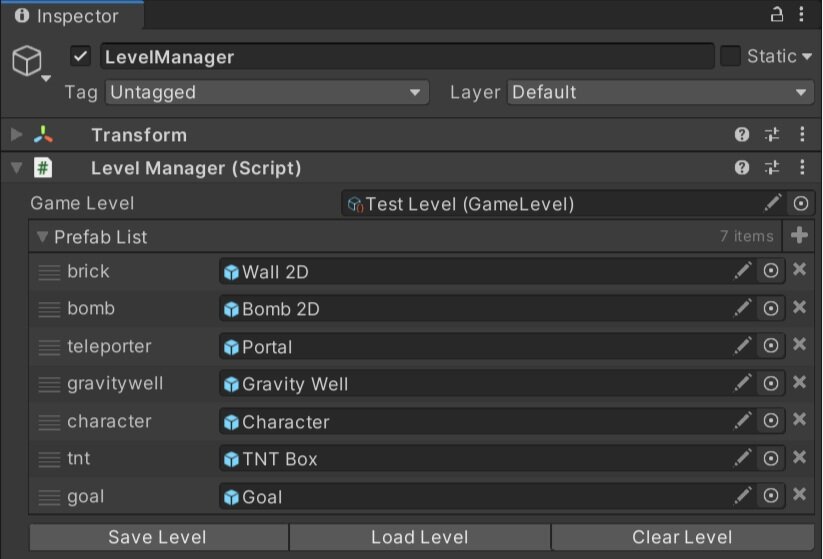
In the next post (video) I’ll be taking a look at the level save system and making modifications so it can work with the Steam Workshop. Right now it’s pretty basic, but it saved me enormous amounts of time during the game jam. It allowed me to load, create and save a level in a matter of minutes! It’s generic enough and I think it could work for a lot of simpler 2D and 3D games. So I’m looking forward to sharing that with you.
I’ll also be working to implement the Steam Workshop - which will mean some tweaks and adjustments to the save system as well as creating a the UI to allow the players to upload and download content.
