Cheat Codes with Unity and C#
Let’s talk cheat codes. This post, and the video that’ll get made from it, are all about the why and the how of adding cheat codes to your Unity project.
Why Add Cheat Codes?
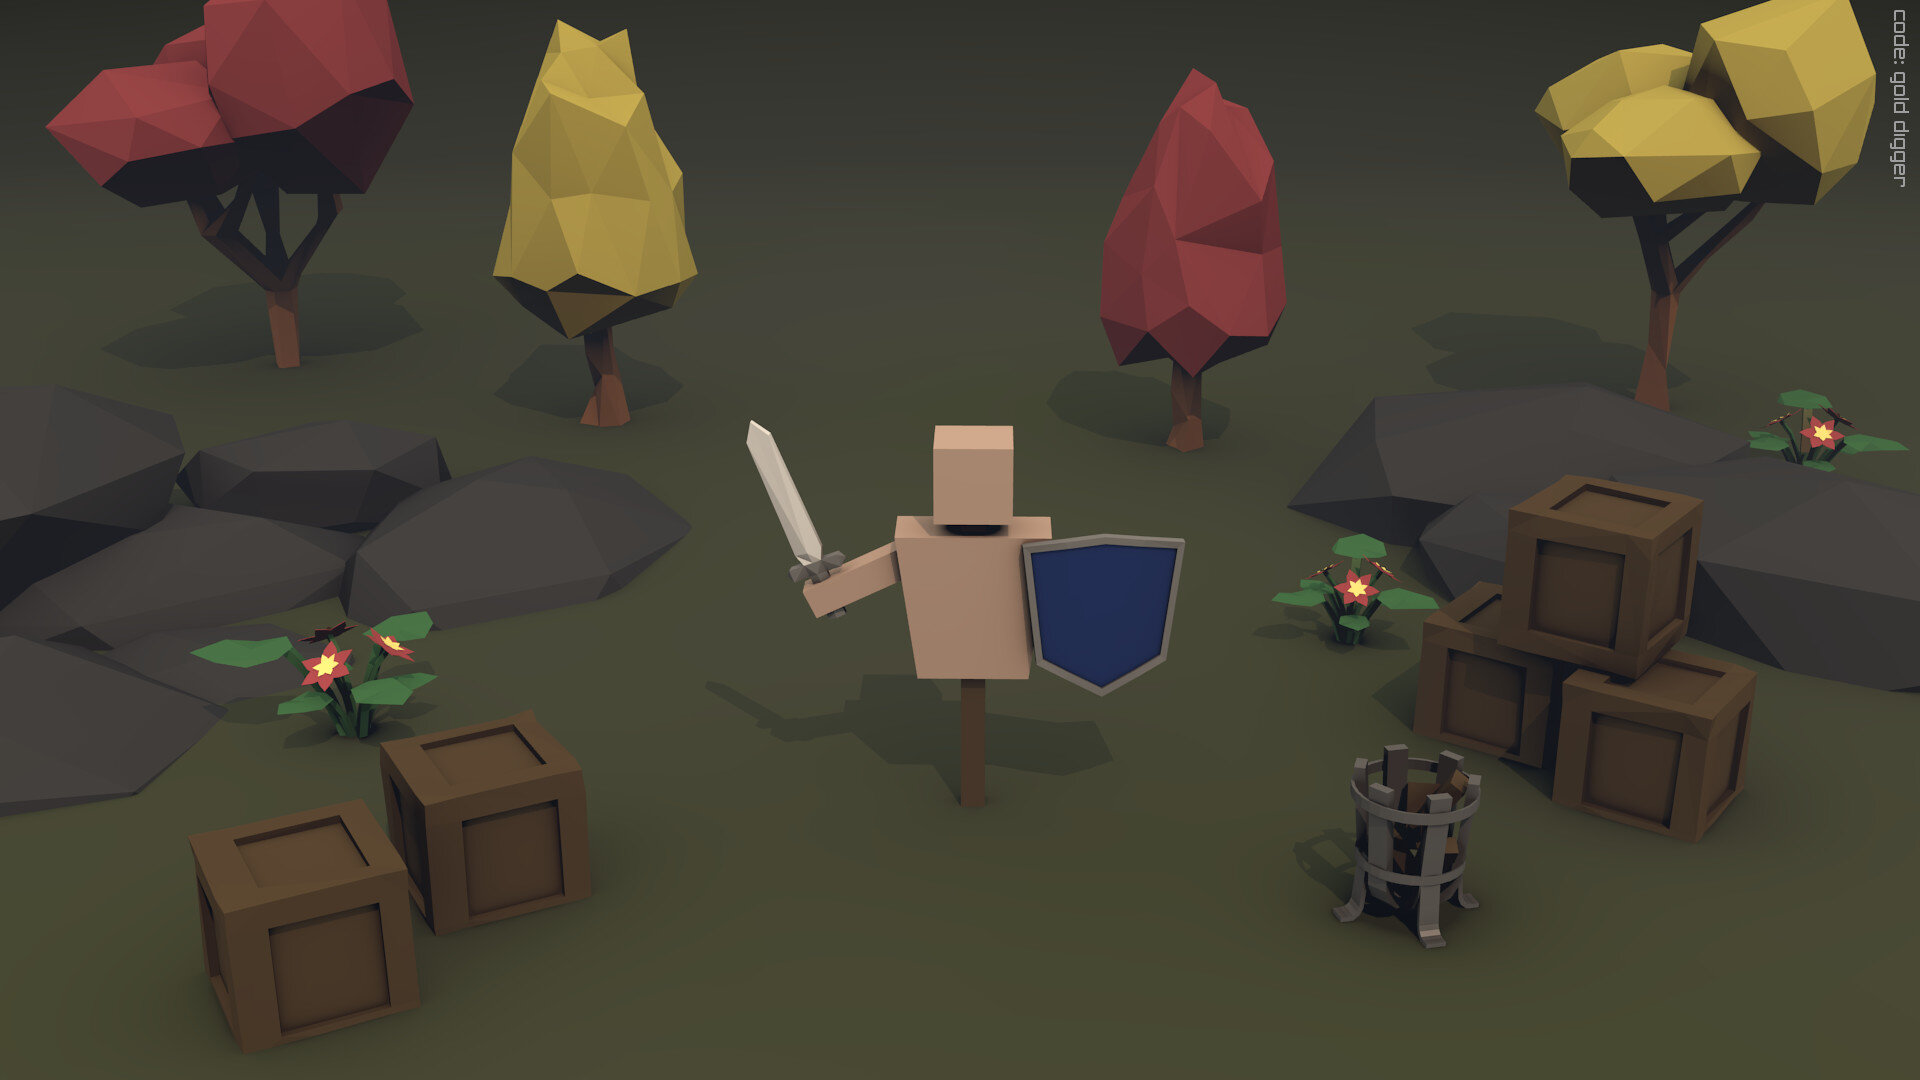
You can see the code at the top right... If you look closely.
Great question! There’s the obvious answer is that they can be fun easter eggs for your players to find and discover. In my first game I placed cheat codes in the wallpapers that players could earn by collecting cards on Steam. I’m not sure anyone found them, but I thought it was a fun idea :)
But that wasn’t the reason I first put cheats into my game. The idea was a suggestion of a twitch viewer (Wago) as a way to help with testing and debugging.
In my game, like so many others, you had to collect resources. Those resources were then used to create things like buildings or catapults. If I wanted to test that my UI was working or the placement of a building was working, I’d have to start the game, create a bunch of workers, wait for them to collect the resource and then I could test the placement of the building.
Now this didn’t take much more than 5 minutes, but when you need to do it 5, 6 or maybe 10 times in a row you end up wasting a lot of time.
And that’s where the cheat codes come in. With a few lines of additional code I could instantly have as much of any resource as I needed. A few keystrokes and the resource was available.
This changed a 5 minute testing cycle into a 30 second testing cycle. Which is HUGE! And I’m willing to bet that your project can benefit from cheat codes too.
Enough Already! How Do We Do it?

Nothing too fancy here.
Adding cheat codes is surprisingly easy. Or at least the number of lines of code is pretty reasonable - we’re talking 75ish lines. Most of the code is working with strings which was a bit foreign to me but it’s pretty straightforward.
The way I’m going to do this takes advantage of Unity events and the first thing we need to do is create a custom class that will hold the code itself and the unity event. I’ve made the class serializable so that it will show in the inspector. Also note that the class is not a Monobehavior as we won’t be adding this to a gameObject, but rather we’ll be creating a list of instances of this class.
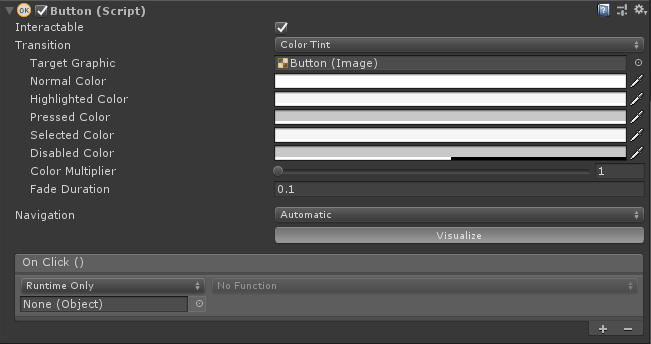
The “On click” portion contains Unity Events.
If you’re unfamiliar with Unity Events these are the same things that are in the inspector under “On Click” for a Button component where you can add an object and then call a public function when the button is pressed. They can be really handy and they can used in your own custom classes!
After the class is setup we need to create another class for the “cheat code manager” along with a few variables.
All the variables are private, but once again I’ve serialized them so that they can be seen in the inspector. This will help with debugging and in the case of the list it will help with the creation and assignment of the cheat codes themselves.
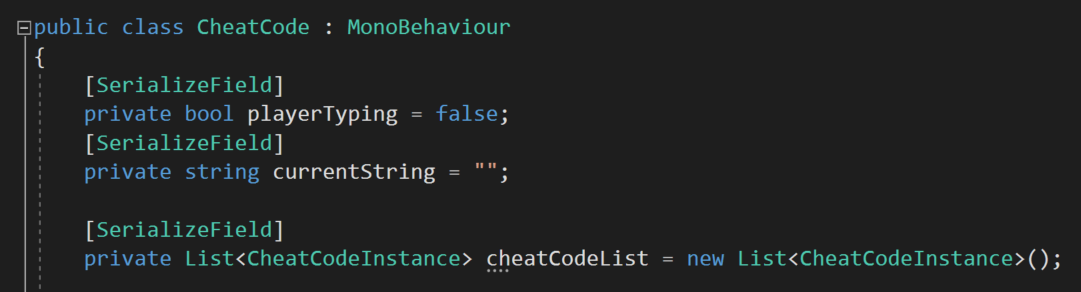
The first variable is a simple boolean which essentially tracks whether the player is typing. Which isn’t actually entirely true. Rather the value of the variable is toggled by pressing enter or return. This is how the player or developer will signal that they are entering or are finished entering a code - by pressing enter.
The string variable will simply track the characters that have been typed. This will also be used to compare against cheat codes in the list to determine if the correct code has been entered.
Lastly there’s the list - it’s a list of cheat code (instances) and the related Unity Event that will be called if that code is entered.

The backbone of the code - the Update function!
Next up is the core of the code, which is sitting in an Update function. The first step is to check if the enter or return key has been pressed. If this is done while (or after) the player was typing then that indicates that the cheat code is complete and we need to check if it’s correct. We’ll get to the “check cheat” function in just a bit. Try not to get too excited :)
After that we toggle the value of the “player typing” variable to the opposite of its current value.
The next piece is a bit of a mess of if’s and such but hopefully isn’t too tough to follow.
If the player is typing then we need to process the characters that they’ve been typing.
To do this I’m using a foreach loop that will loop through all the characters in the current input string. The value “Input.inputString” tracks all of the keys pressed in a given frame. While it’s unlikely that you can type so fast as to get multiple characters in a single frame it seems reasonable to cover all the cases.
So first we need to check if the backspace or delete (Mac, right?) keys have been pressed. If either was and the current string is longer than 0 characters we’re going to remove the last character in the string. This is done with the “substring” function. Which will essentially make a smaller string out of our “current string". We have to give the function a starting index, in this case the 0th character and and ending index, in this class the length of the string minus 1 so that we remove just the last character.
The next “if” checks whether the enter or return key was pressed. If this happened then we’ll reset the string back to an empty string.
Now you might be thinking that it might makes sense to put this further up in the update function when we were checking for the return being pressed.
But!
There is a subtle and important reason not to do that.
The enter and return keys are also recorded as characters with “Input.inputstring” and we don’t want those recorded in our current string as it will mess up the cheat code! So we need a way to filter them out - which is one of the purposes of this “else if” statement.
And lastly, the final conditional is going to add the character to the current string so we keep it updated and will be able to compare it to the cheat codes.

The last chunk of the C# code is the “check cheat” function.
This function is pretty straight forward. It takes in a string parameter, then loops through all the cheat codes in the cheat code list and checks if the input string matches the cheat code string.
If it does, the event on the cheat code instance is invoked and we return a true value.
Otherwise, if the loop finishes without finding a match a value of false is returned. The boolean return value for the function is totally optional, but could serve a purpose in some projects or applications.